이번 포스팅에서는, Kubernetes Event-driven Autoscaling 인, Keda에 대한 설정을 하고자 합니다.
사실 이 Keda 포스팅을 위해 이전 2개의 내용을 테스트하고 포스팅했습니다.
keda를 pub/sub의 event에 따라, 처리하는 pod의 갯수를 증가시키는 것을 해보고자 합니다.
Keda
Keda는 Kubernetes Event-driven Autoscaling 의 이름에서 알 수 있듯이, 이벤트에 따라 오토스케일을 합니다.
쿠버네티스를 공부하다보면, hpa라는 리소스가 있습니다.
왜, hap를 사용하지 않고 keda를 사용하냐는 생각이 있을 수도 있습니다. (저도 그랬거든요…)
hpa는 cpu 및 메모리의 사용량을 기반으로 pod의 갯수를 증가시키는 형식의 오토스케일러입니다.
keda는 이벤트에 따라 pod의 갯수를 증가시키는 형식의 오토스케일러이구요.
즉, hpa는 cpu 및 메모리가 일정 사용량 만큼 되야 스케일을 하기 때문에, 갑작스러운 대처를 하지 못합니다.
하지만 keda는 바라보고있는 event의 상황에 따라 pod의 갯수를 증가시키기 때문에 훨씬 유리합니다.
keda 설치하기
이번 포스팅도, keda 공식 docs를 보면서 실습한 내용입니다.
설치는 이전의 secret-manager와 동일하게, helm chart를 이용해서 설치합니다.
helm repo add kedacore https://kedacore.github.io/charts
helm repo update
kubectl create namespace keda
helm install keda kedacore/keda --namespace keda
위의 명령어를 순서대로 입력해주면 어렵지 않게, 설치할 수 있습니다.
keda auth 정의하기
keda를 사용하기 위해서는 권한을 부여해야합니다.
이전 포스트에서 정의한 secret-manager를 다시 불러오겠습니다.
apiVersion: external-secrets.io/v1beta1
kind: ExternalSecret
metadata:
  name: example
  namespace: es
spec:
  refreshInterval: 1h           # rate SecretManager pulls GCPSM
  secretStoreRef:
    kind: ClusterSecretStore
    name: example               # name of the SecretStore (or kind specified)
  target:
    name: pubsub-secret  # name of the k8s Secret to be created
    creationPolicy: Owner
  data:
  - secretKey: test  # name of the GCPSM secret key
    remoteRef:
      key: test
이전 포스팅에서한 내용에 spec.target.name 만 pubsub-secret으로 변경하였으므로, 과정을 생략하겠습니다. 이전 포스팅을 참고해 주세요.
이렇게 secret을 정의하고 나면 이제 본격적인 keda의 권한을 부여하는 방법입니다.
keda docs를 읽어보면 scalejob에 직접적으로 부여하는 방법도 있지만, 저는 재사용성을 위해 TriggerAuthentication를 따로 정의했습니다.
apiVersion: keda.sh/v1alpha1
kind: TriggerAuthentication
metadata:
  name: gcp-pubsub-credentials
  namespace: es
spec:
  secretTargetRef:
    - parameter: GoogleApplicationCredentials
      name: pubsub-secret
      key: test
spec.secretTargetRef 의 어떤 public cloud를 이용하냐에 따라 살짝식 달라집니다. 자세한 내용은 Docs를 참고해주세요.
저는 GCP pub/sub을 바라보도록 할 예정이라, 위와 같이 정의했습니다.
parameter의 경우, docs에서 설정하라는 gcp의 auth 관련 파라미터를 입력했습니다.
name의 경우 사용하고자 하는 secret (secret-manager 에서 생성한 시크릿 이름)을 입력하면 됩니다.
key의 경우, 원래는 GCP_SERVICE_ACCOUNT관련 json이 들어가는 내용인데, secret-manager를 사용했기에 위와 같이 간단하게 입력할 수 있었습니다.
이렇게하면 keda의 권한 관련 정보의 입력이 완료됩니다.
사실 이 부분을 위해 포스팅했습니다. service-account.json을 입력할 때는 예제가 많은데, secret manager를 이용할 때, name 및 key에 어떠한 값을 입력해야 하는지 모르겠더라구요.
scalejob 만들기
이제 본격적으로 keda를 사용할 시간입니다.
scalejob을 정의하는 내용인데, 어떤 event를 바라보느냐에 따라 정의하는 triggers 내용이 달라집니다.
apiVersion: keda.sh/v1alpha1
kind: ScaledJob
metadata:
  name: {scaled-job-name}
spec:
  jobTargetRef:
    parallelism: 1                            # [max number of desired pods](https://kubernetes.io/docs/concepts/workloads/controllers/jobs-run-to-completion/#controlling-parallelism)
    completions: 1                            # [desired number of successfully finished pods](https://kubernetes.io/docs/concepts/workloads/controllers/jobs-run-to-completion/#controlling-parallelism)
    activeDeadlineSeconds: 600                #  Specifies the duration in seconds relative to the startTime that the job may be active before the system tries to terminate it; value must be positive integer
    backoffLimit: 6                           # Specifies the number of retries before marking this job failed. Defaults to 6
    template:
      # describes the [job template](https://kubernetes.io/docs/concepts/workloads/controllers/jobs-run-to-completion/)
  pollingInterval: 30                         # Optional. Default: 30 seconds
  successfulJobsHistoryLimit: 5               # Optional. Default: 100. How many completed jobs should be kept.
  failedJobsHistoryLimit: 5                   # Optional. Default: 100. How many failed jobs should be kept.
  envSourceContainerName: {container-name}    # Optional. Default: .spec.JobTargetRef.template.spec.containers[0]
  maxReplicaCount: 100                        # Optional. Default: 100
  rolloutStrategy: gradual                    # Optional. Default: default. Which Rollout Strategy KEDA will use.
  scalingStrategy:
    strategy: "custom"                        # Optional. Default: default. Which Scaling Strategy to use.
    customScalingQueueLengthDeduction: 1      # Optional. A parameter to optimize custom ScalingStrategy.
    customScalingRunningJobPercentage: "0.5"  # Optional. A parameter to optimize custom ScalingStrategy.
    pendingPodConditions:                     # Optional. A parameter to calculate pending job count per the specified pod conditions
      - "Ready"
      - "PodScheduled"
      - "AnyOtherCustomPodCondition"
    multipleScalersCalculation : "max" # Optional. Default: max. Specifies how to calculate the target metrics when multiple scalers are defined.
  triggers:
  # {list of triggers to create jobs}
위의 yaml은 Docs에서 제공하는 파라미터들에 대한 설명들입니다.
제가 다루고자 하는 events는 Pub/sub입니다. 다행이도 pub/sub에 대한 문서를 따로 제공해 주더라구요.
apiVersion: keda.sh/v1alpha1
kind: ScaledJob
metadata:
  name: scaled-job
  namespace: es
spec:
  jobTargetRef:
    parallelism: 5
    completions: 1
    backoffLimit: 3
    template:
      spec:
        serviceAccountName: sa
        nodeSelector:
          iam.gke.io/gke-metadata-server-enabled: "true"
        containers:
          - name: subscribe-job
            image: gcr.io/sharp-voyage-345407/subscribe:0.1
            command: ["python3", "main.py"]
  pollingInterval: 30
  minReplicaCount: 0
  maxReplicaCount: 5
  triggers:
    - type: gcp-pubsub
      authenticationRef:
        name: gcp-pubsub-credentials
      metadata:
        subscriptionSize: "1"
        subscriptionName: test-sub
그래서 저는 위와 같이 설정했습니다.
spec.template.spec 에서는 이전 포스팅에서 다뤘던 워크로드 아이덴티티를 사용하고, 컨테이너의 경우, pub/sub으로 부터 데이터를 수신받아 처리하는 이미지를 입력했습니다.
여기서 다른 파라미터들도 중요하지만, 제일 중요한건 얼마나 scale 할지 결정하는, minReplicaCount 와 maxReplicaCount 인 것 같습니다. 이를 통해 최소, 최대의 파드 갯수를 결정합니다.
마지막으로, triggers를 정의합니다. type에 gcp-pubsub을 입력하고, authenticationRef는 이전에 생성한 auth name을 입력해 줍니다.
metadata의 경우, pub/sub의 구독이름 및 해당 이벤트가 어떨때, 트리거가 발동되는지 결정하는 내용을 입력해줍니다. 저는 1로 설정하여, 하나라도 있으면 스케일 업할 수 있도록 설정했습니다.
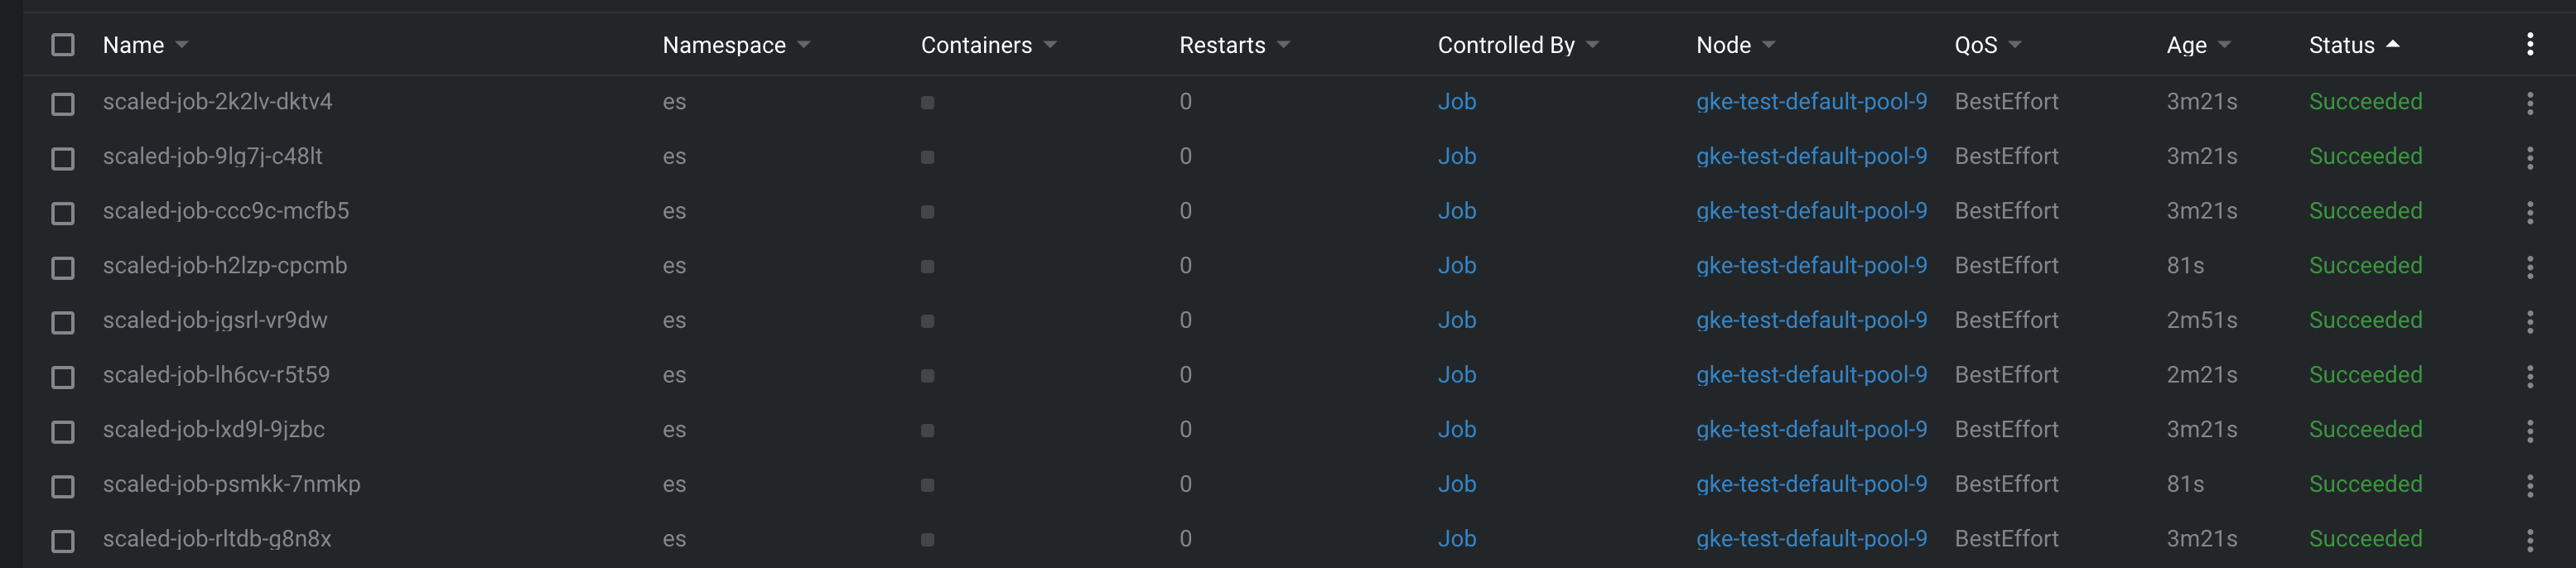
위와 같이 설정하고 실행하면 pod들이 증가합니다.
나만의 정리
secret manager를 이용해서, gcp credentials를 정리했을 때, keda 설정도 비슷하게 입력해주면 되었다.
apiVersion: external-secrets.io/v1beta1
kind: ExternalSecret
metadata:
  name: example
  namespace: es
spec:
  refreshInterval: 1h
  secretStoreRef:
    kind: ClusterSecretStore
    name: example
  target:
    name: pubsub-secret
    creationPolicy: Owner
  data:
  - secretKey: test
    remoteRef:
      key: test
---
apiVersion: keda.sh/v1alpha1
kind: TriggerAuthentication
metadata:
  name: gcp-pubsub-credentials
  namespace: es
spec:
  secretTargetRef:
    - parameter: GoogleApplicationCredentials
      name: pubsub-secret
      key: test
spec.secretTargetRef.name 에는 사용하고자 하는 secret이름 즉, external-secret에서 정의 한 secret의 이름ㅇ르
spec.secretTargetRef.key 에는 secret-manager에서 생성한 이름을 입력하면 정상 작동하는 듯 하다. (External-secret에서는 secretKey가 이에 해당한다.)