Amazon Relational Database Service (RDS) lets you run managed databases in the cloud. Here’s a quick walkthrough of creating a free-tier MySQL instance and connecting to it.
1. Choose an Engine
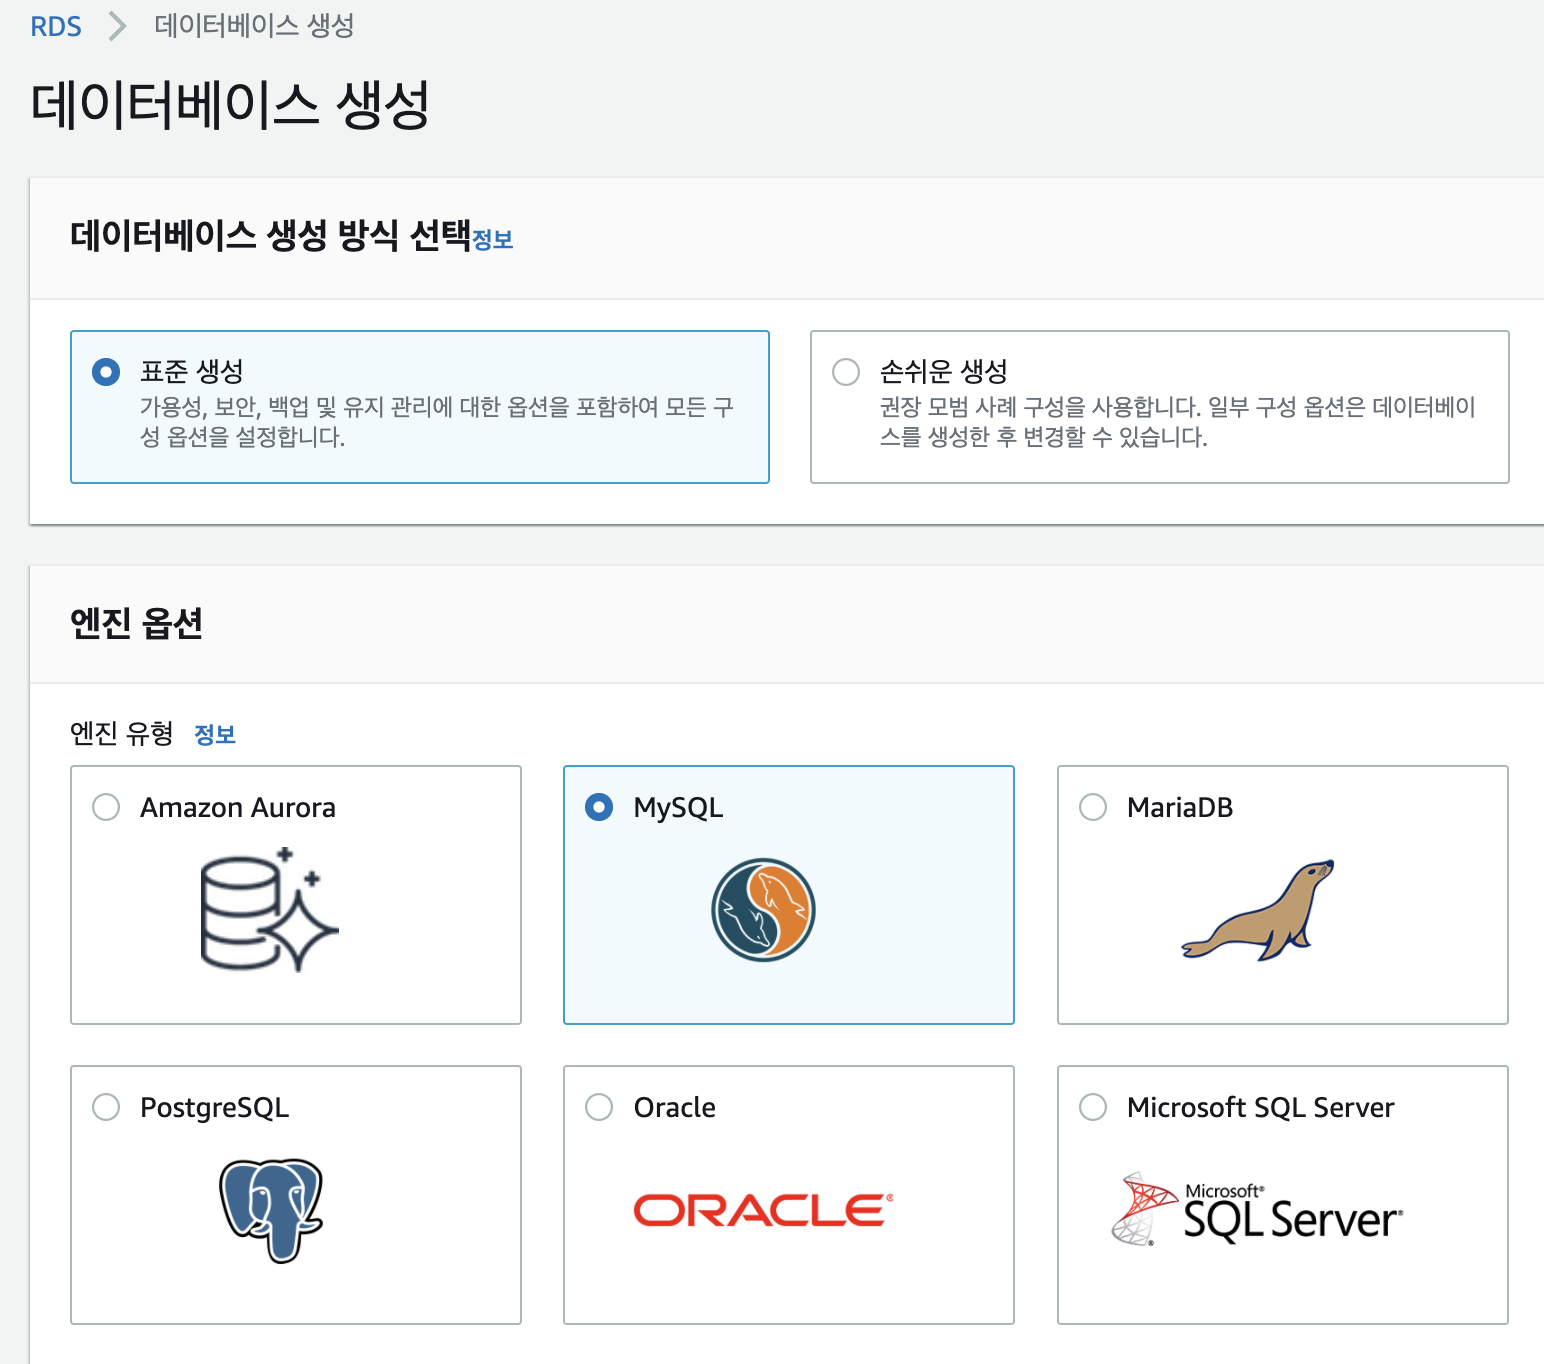
RDS supports six engines. Aurora delivers excellent performance and availability, but costs more. For this demo I chose MySQL to stay within the free tier.
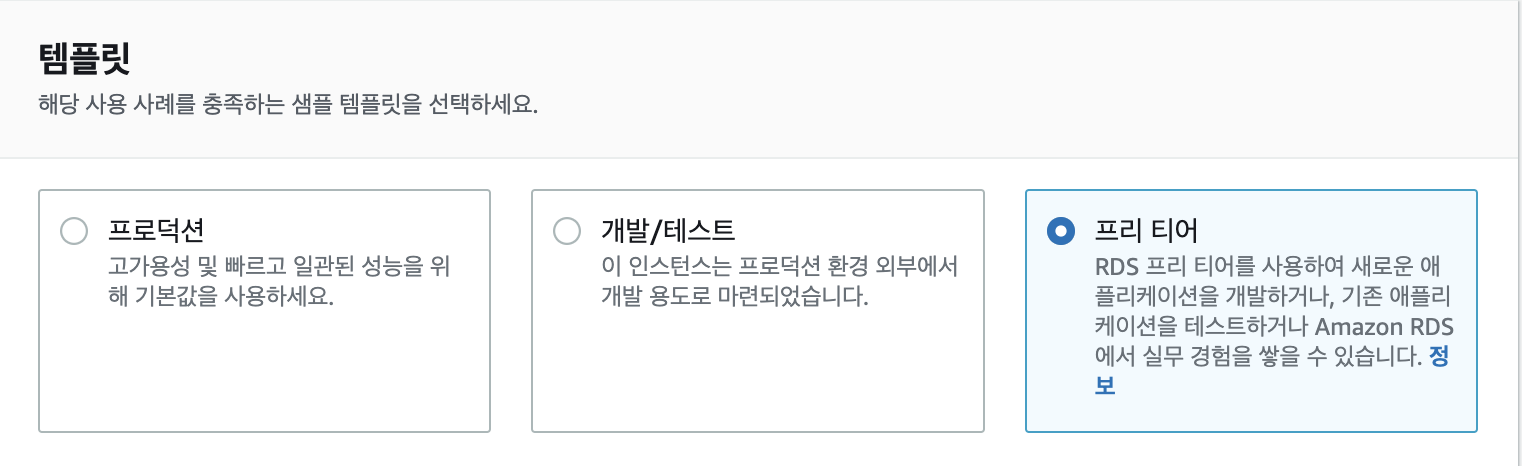
Select the Free Tier template so AWS pre-configures eligible options.
2. Configure Instance Details
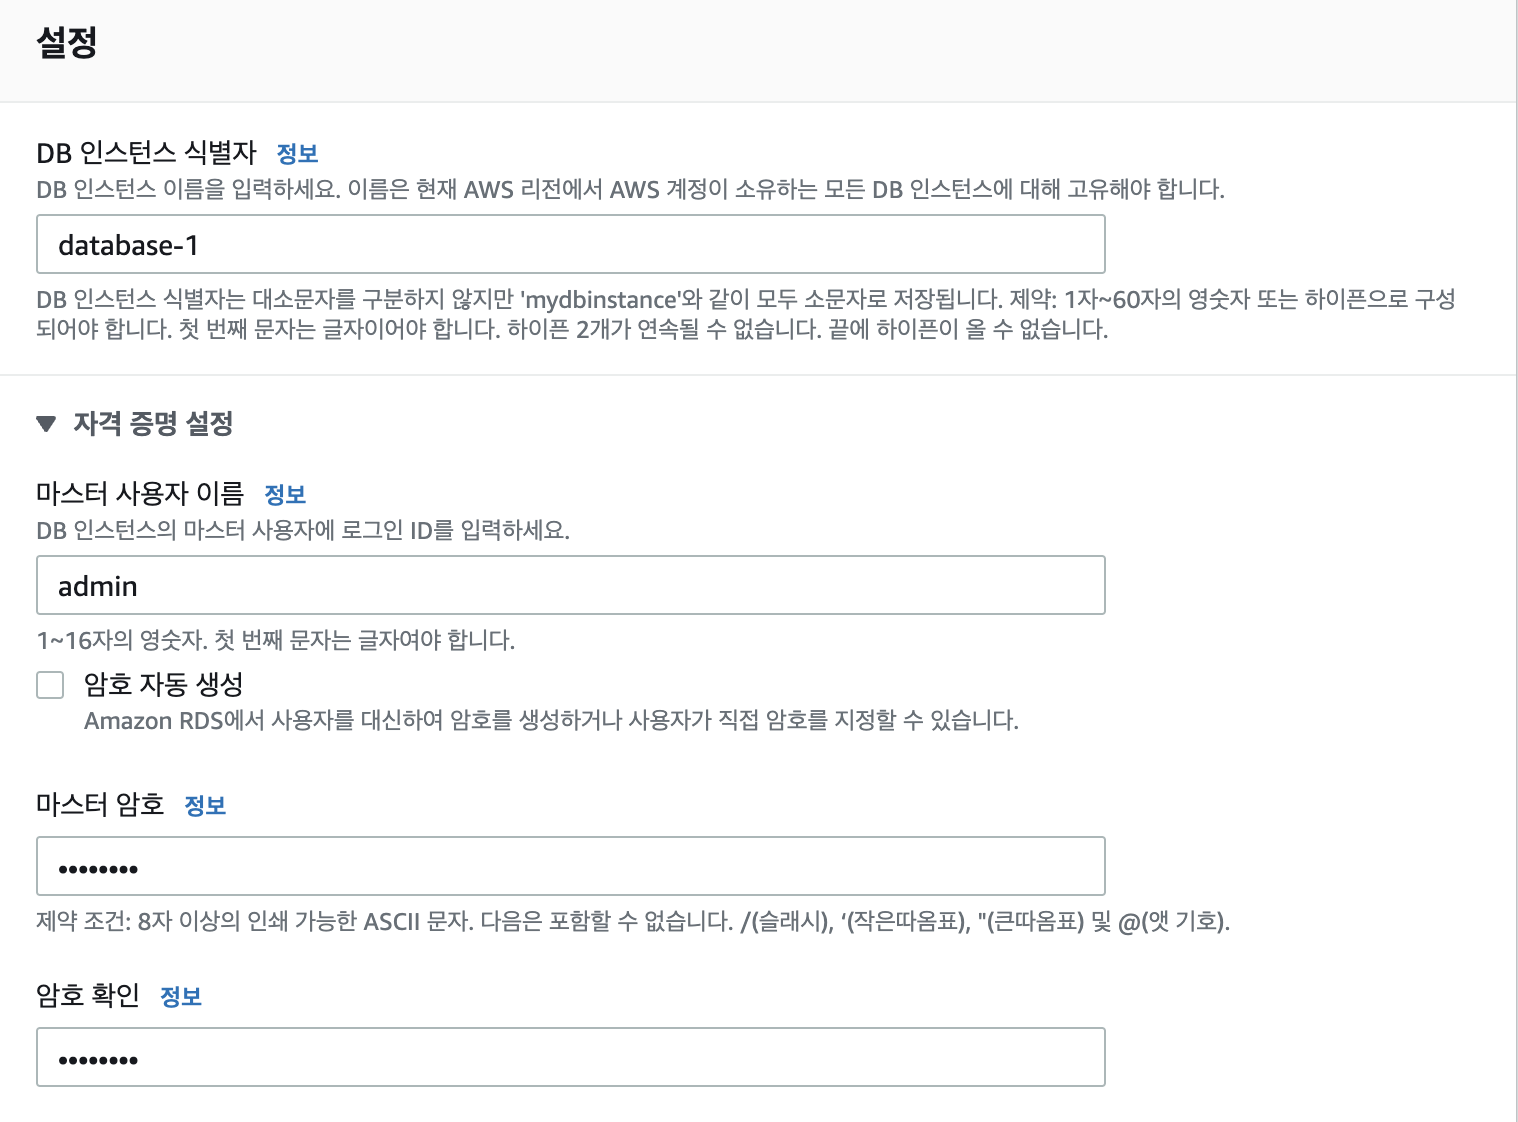
Set the master username and password—store them securely; you’ll need them to connect.
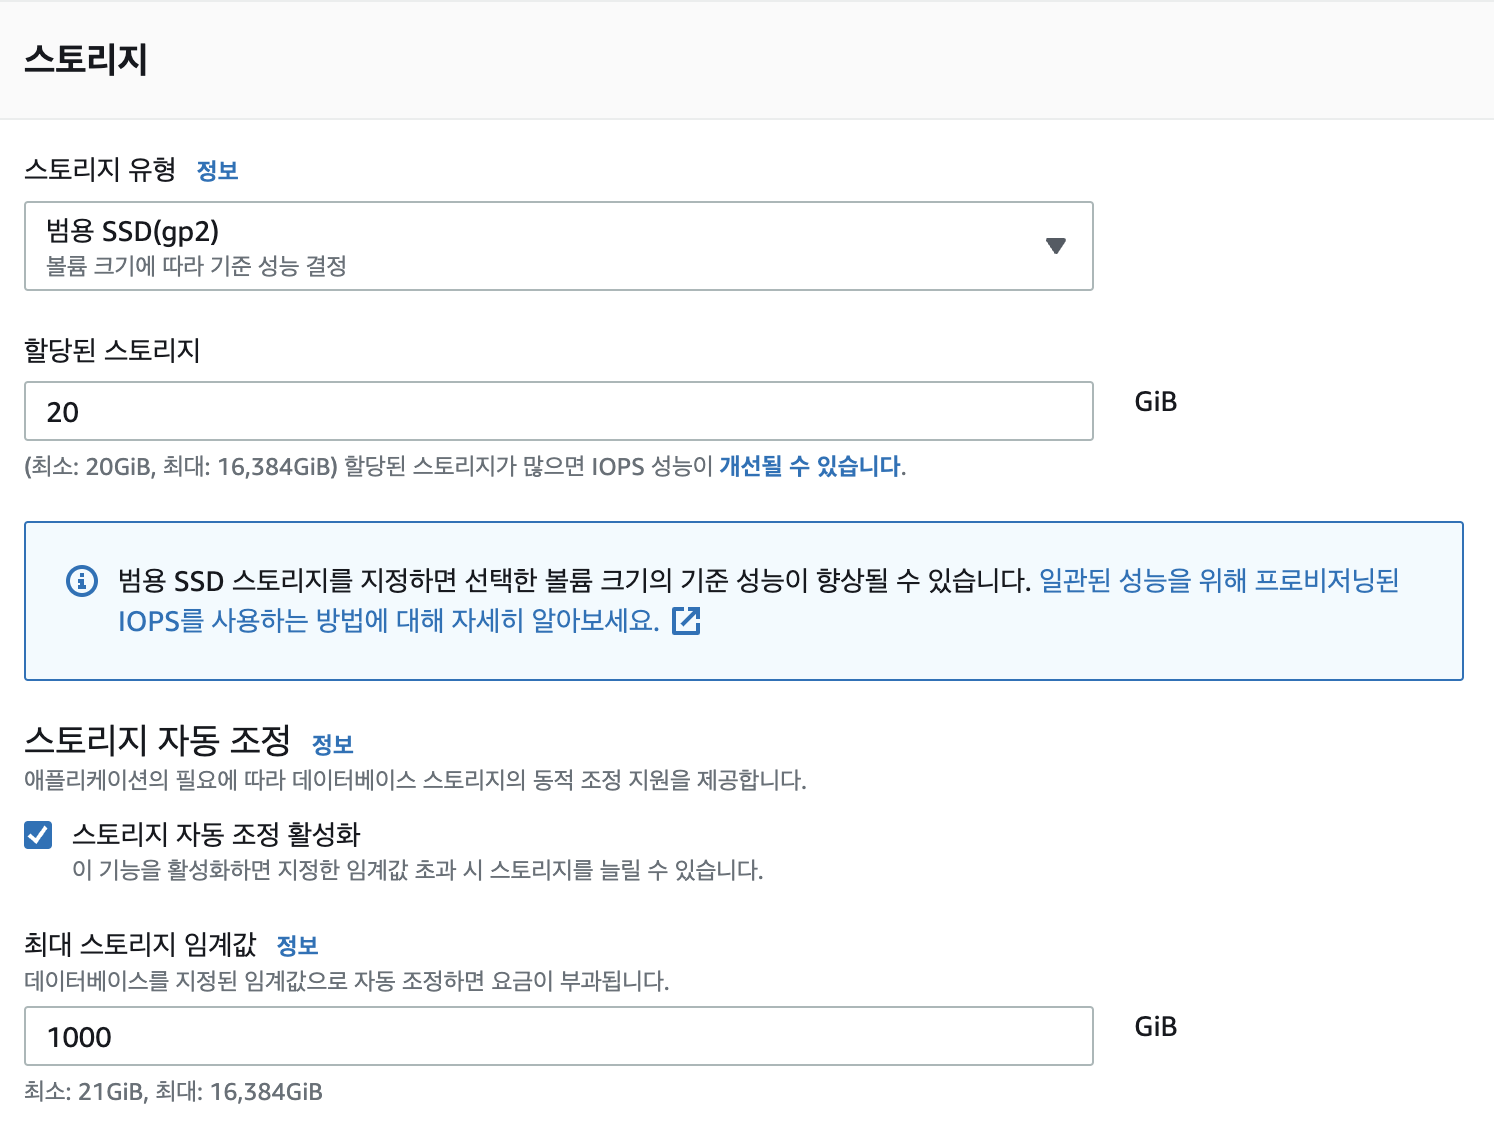
Free-tier instances are limited to db.t2.micro. For storage, gp2 is the common choice (general-purpose SSD). io1/io2 target high IOPS workloads. Enabling storage autoscaling lets RDS grow your volume when needed.
3. Availability, Connectivity, and Security
Free tier supports only Single-AZ deployments, which is fine for a toy project.
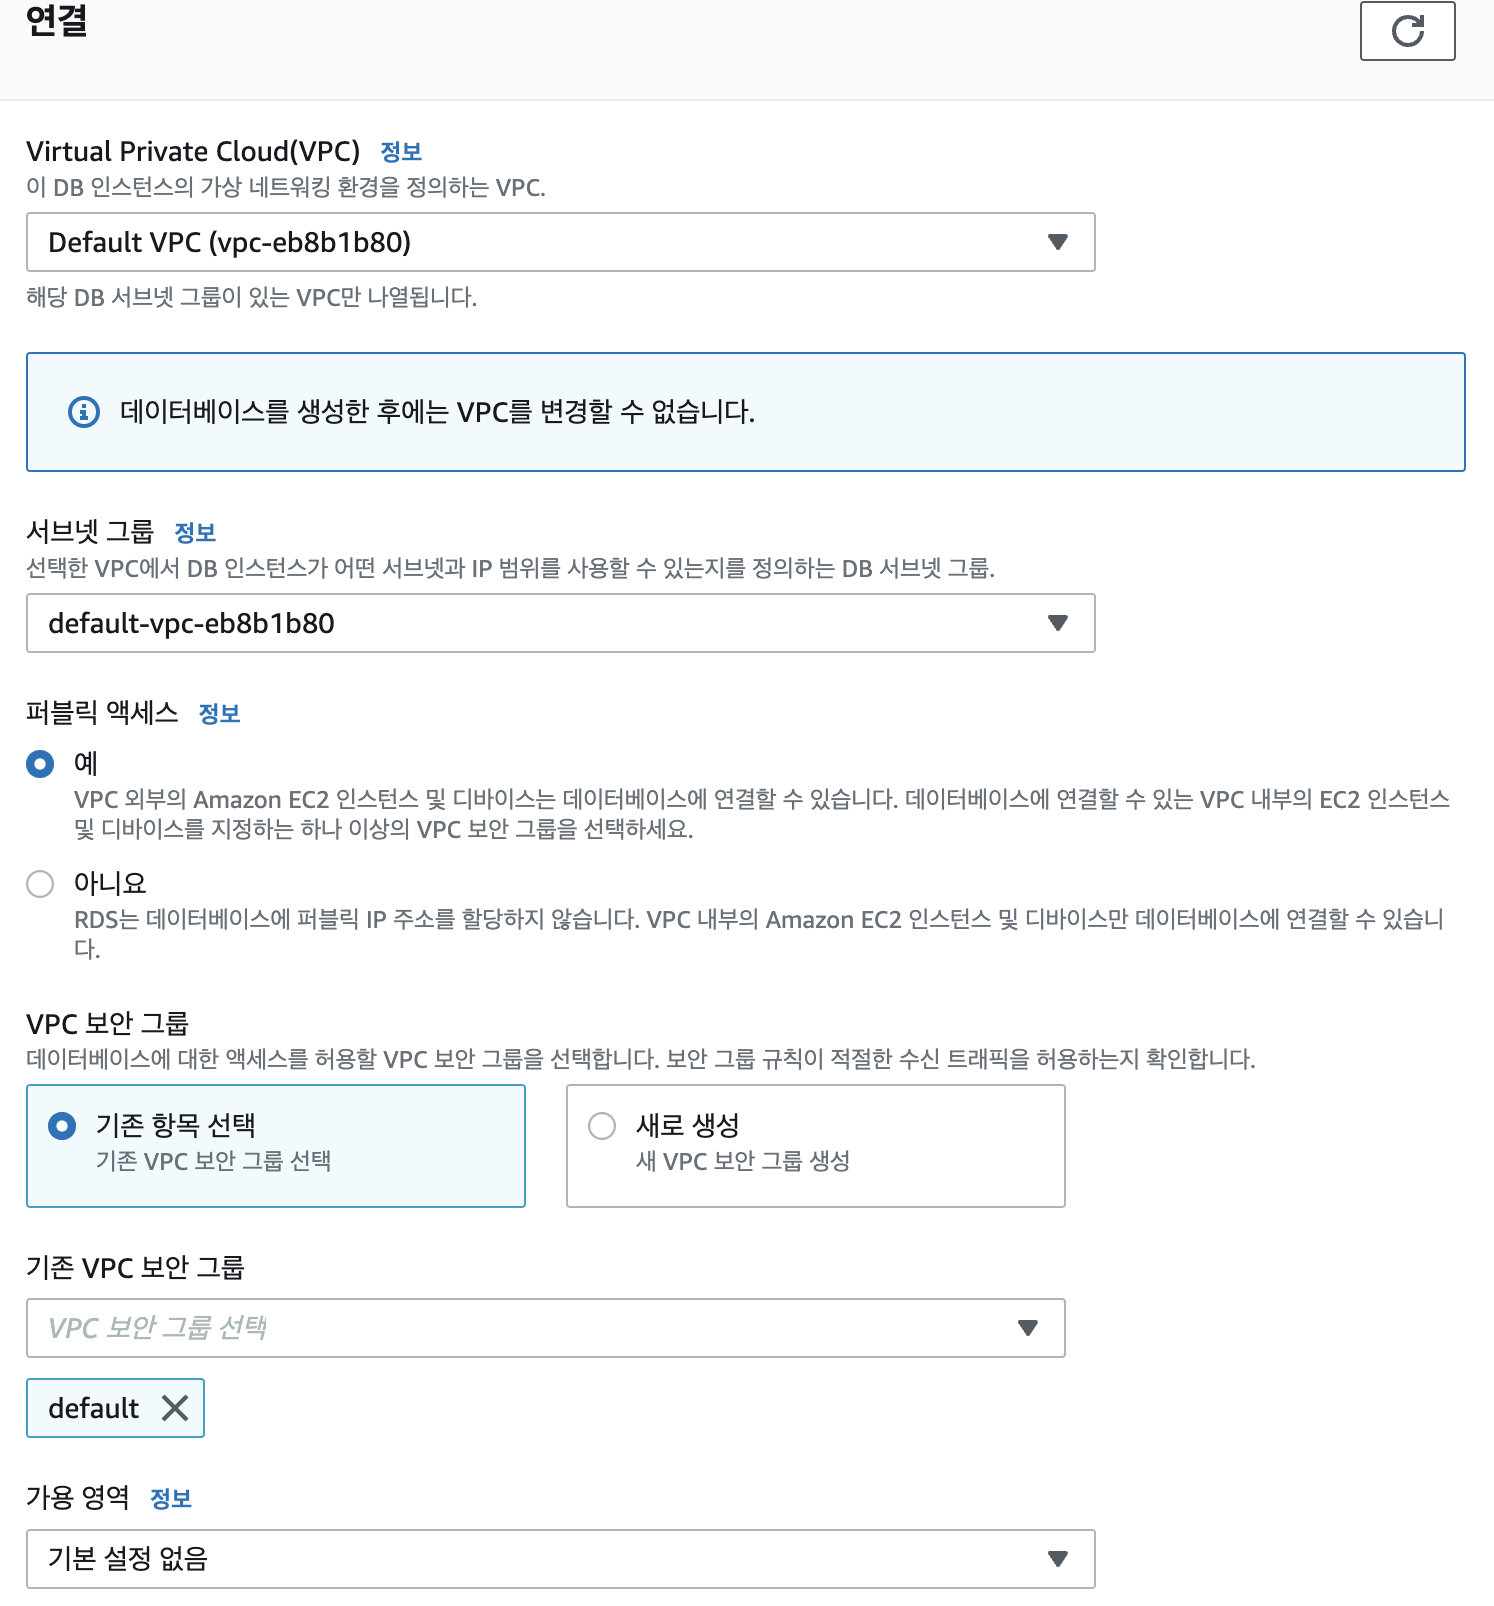
Next, configure networking:
- VPC, subnet group, public access, security groups.
- For this tutorial I set Public access = Yes so I can connect from my laptop.
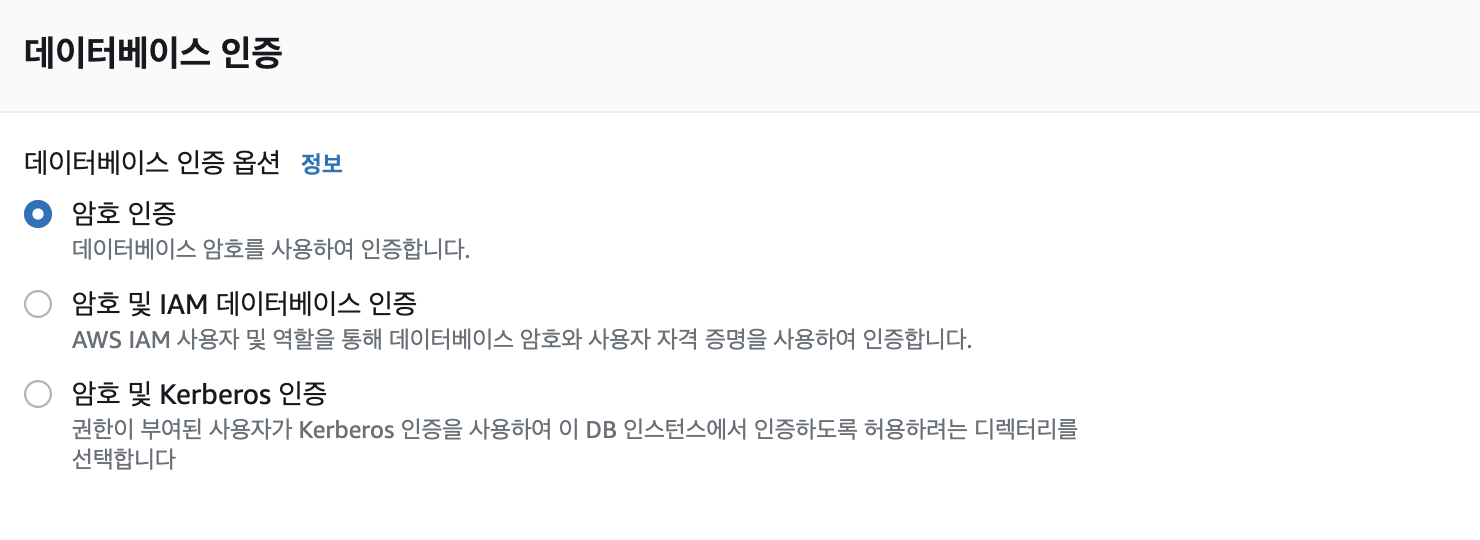
Choose an authentication method. Passwords are simplest; for production consider IAM or Kerberos integration.
4. Additional Settings
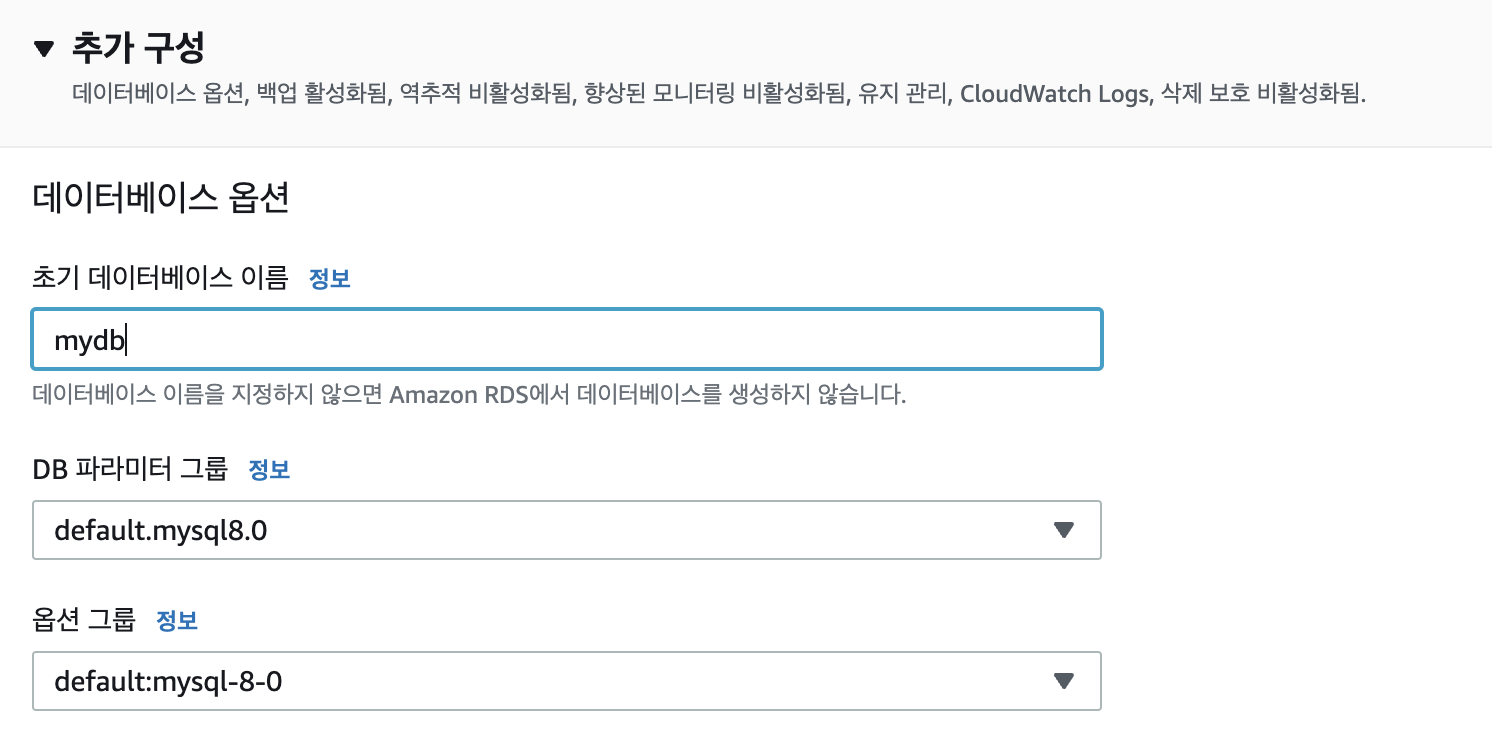
In “Additional configuration” specify the initial database name (you’ll need it when connecting). Adjust backup and maintenance settings to taste, then create the instance. Provisioning takes a few minutes.
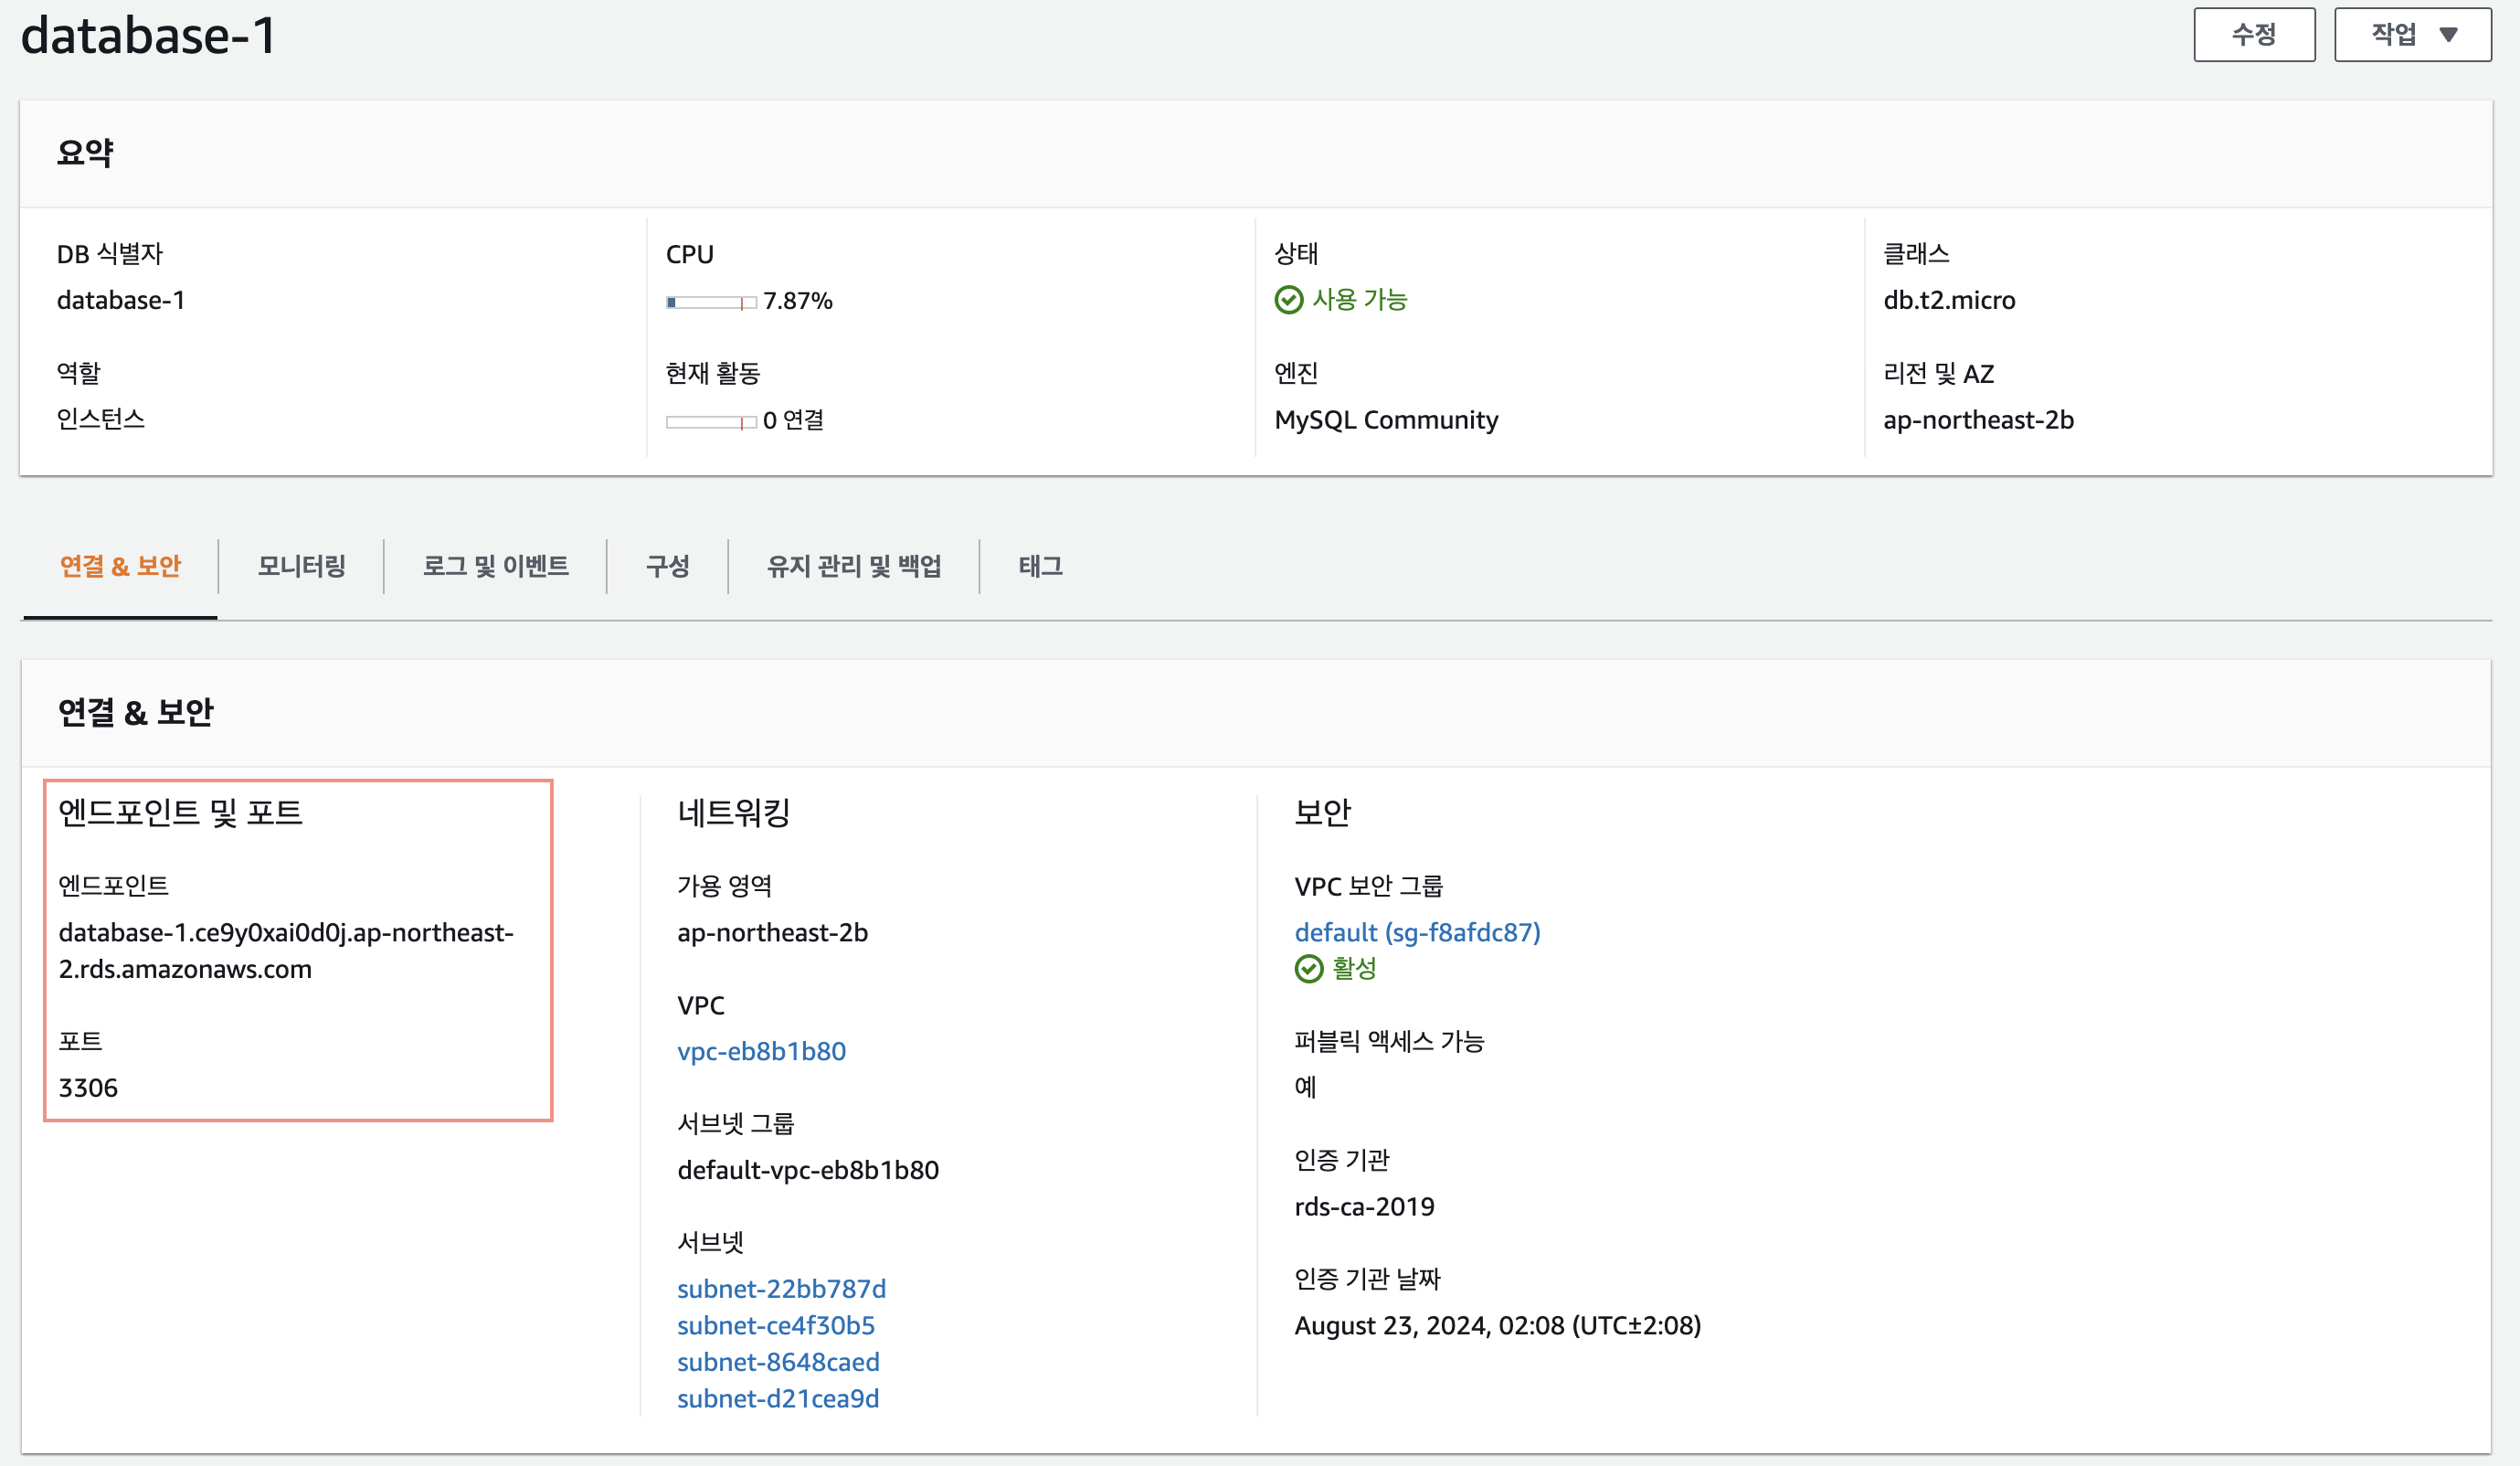
5. Connect
Once the status changes to “Available,” copy the endpoint:
Use your favorite client (I used SQLElectron).
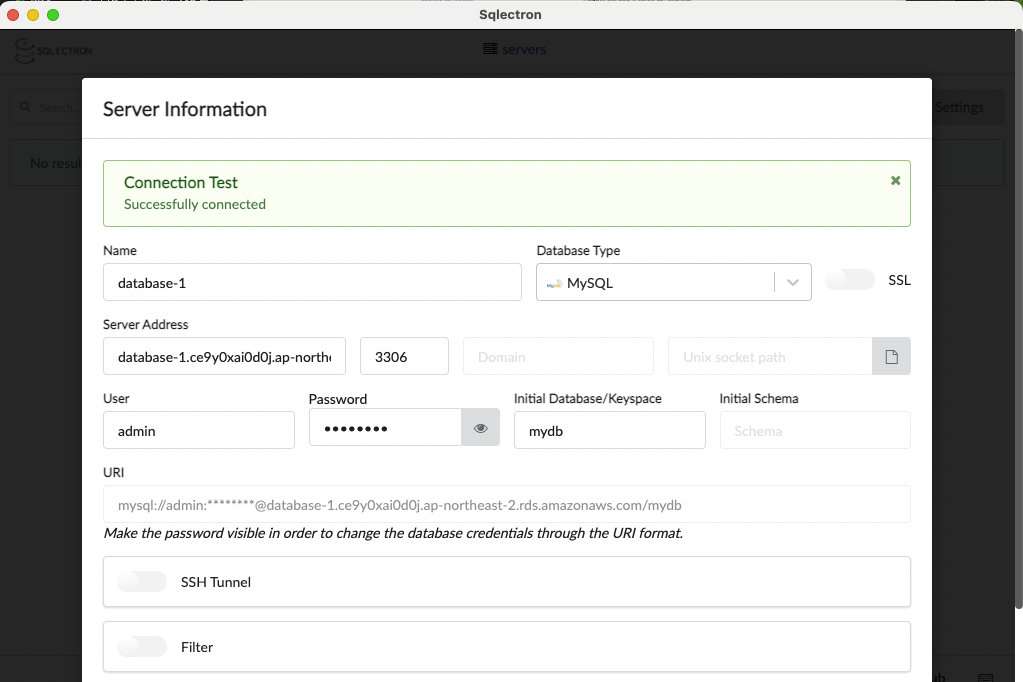
Fill in:
- Name: any label.
- Server Address: the endpoint from AWS.
- Port:
3306(default for MySQL). - User/Password: the credentials you set earlier.
- Initial Database: the name from additional configuration.
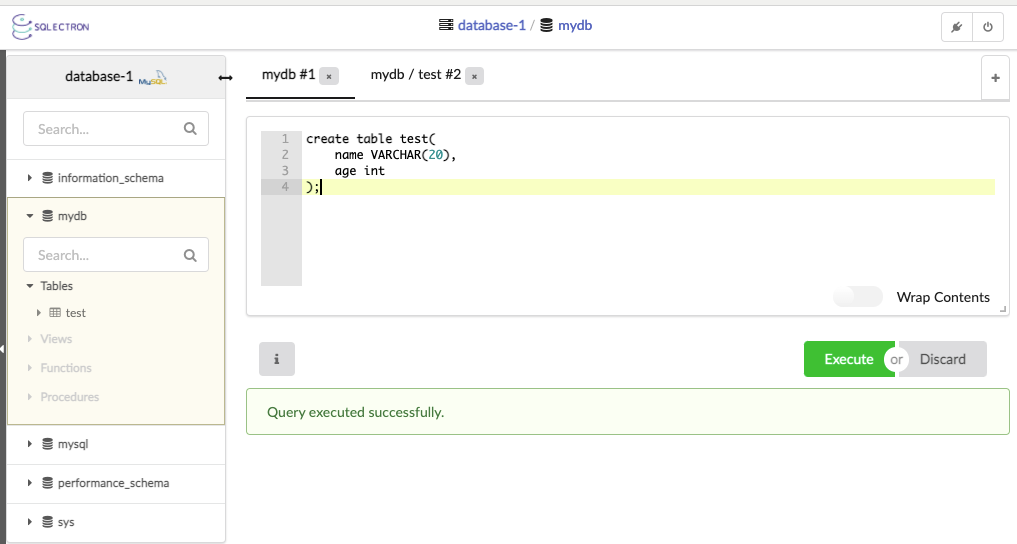
Run a quick query to confirm everything works.
When you’re done, delete the instance (and any snapshots) to avoid charges. Even tiny resources can incur small costs if left running.***