Overview
This post documents how I deployed a service on Google Kubernetes Engine (GKE) and configured sticky sessions. I chose GCP over AWS so I could use the $300 free credit. AWS EKS is not part of the free tier, so it was an easy decision.
Provisioning a GKE Cluster
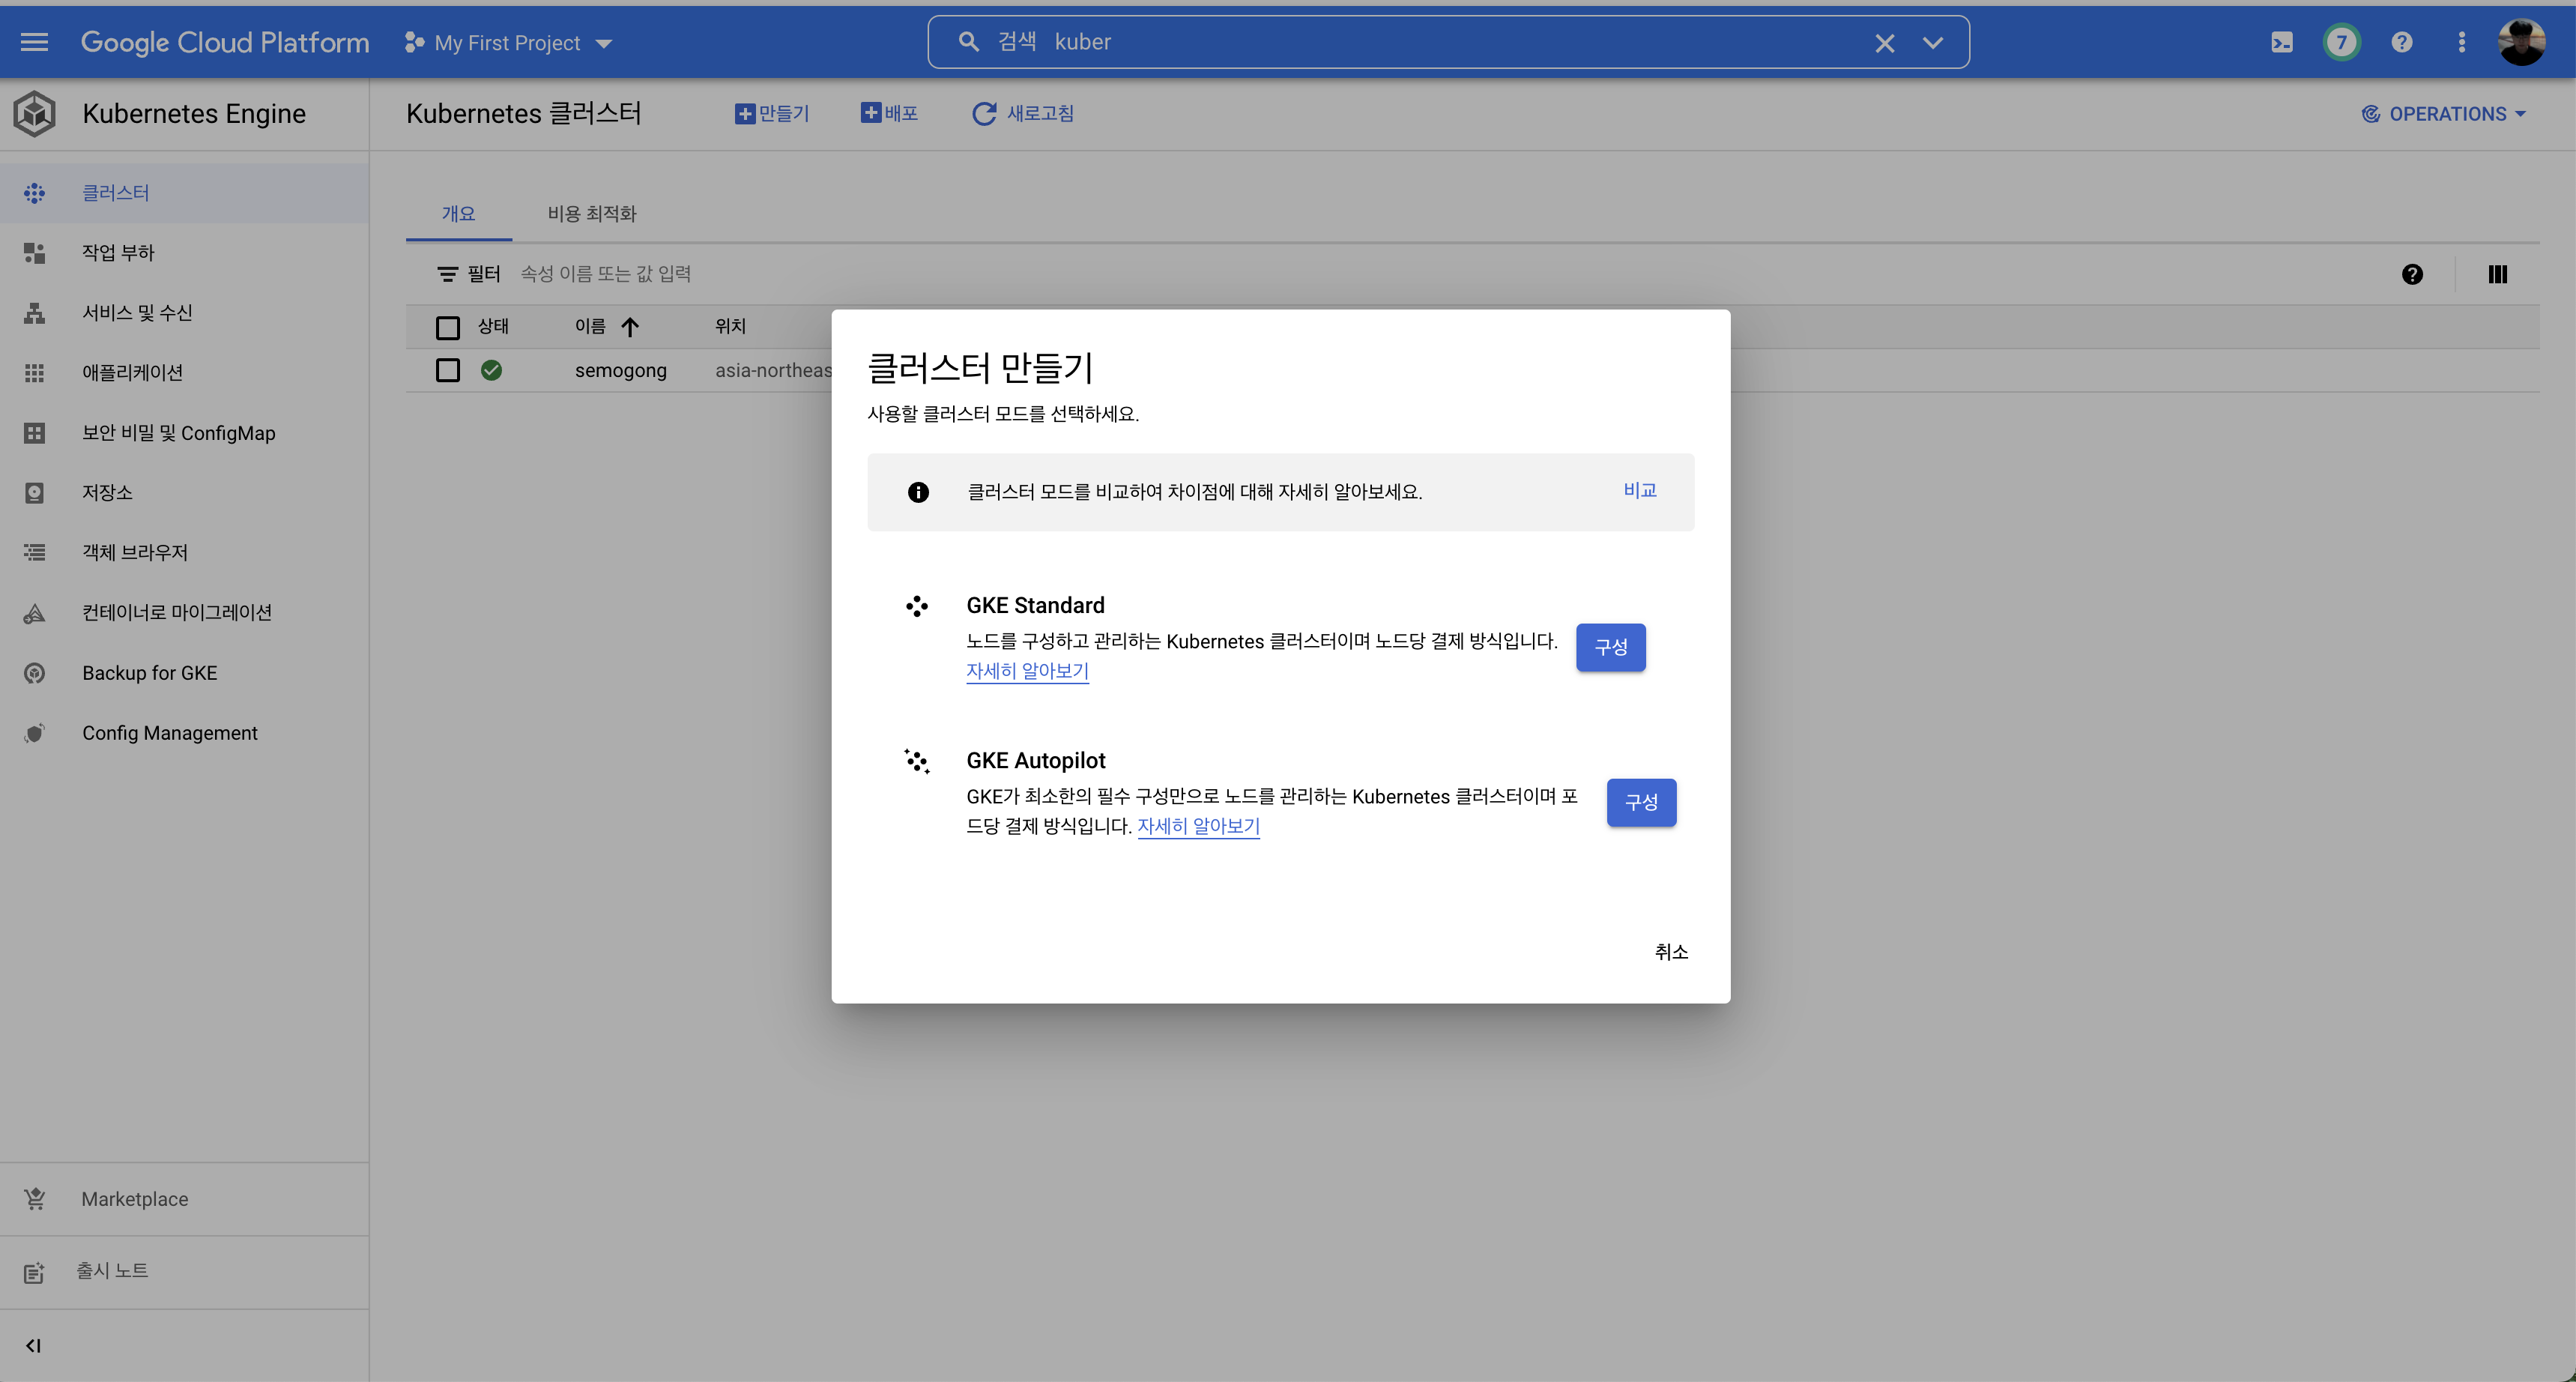
In the Google Cloud console search for Kubernetes Engine, click Create, and follow the wizard. GCP handles the heavy lifting that would otherwise be required if you wired up your own VMs.
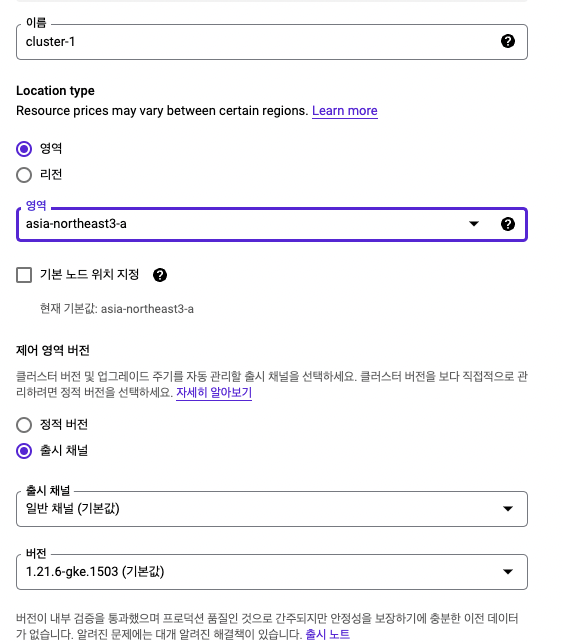
I only changed the region to asia-northeast3 (Seoul) and kept the remaining options at their defaults. GKE lets you tailor machine types (general purpose, compute optimized, memory optimized, GPU), size your nodes, choose storage, security, metadata options, and more. Pick what fits your workload.
After confirming the settings it takes a few minutes for the cluster to be provisioned. No manual node wiring required—managed services for the win.
Connecting via GCP Cloud Shell
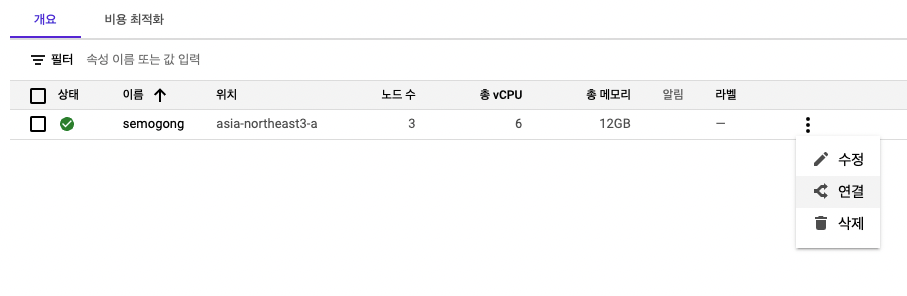
From the cluster list click the three-dot menu next to your cluster and choose Connect.
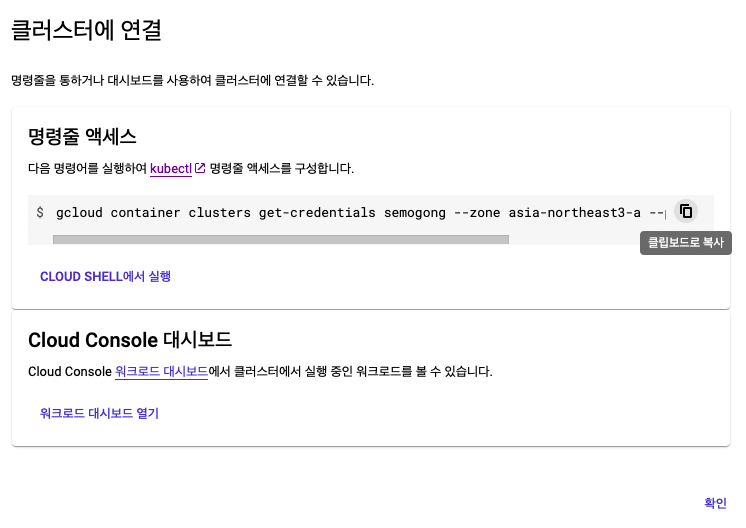
Click Run in Cloud Shell and a terminal opens at the bottom of the console with the following command pre-populated:
gcloud container clusters get-credentials ...
Execute the command (approve the prompt) to grant credentials to kubectl, then verify the connection:
kubectl get pods
If you see No resources found in default namespace, the cluster is reachable.
Generate a Deployment Manifest
For this example I’m deploying a Spring Boot image hosted on Docker Hub. Scaffolding the manifest with kubectl run makes the initial YAML handy.
kubectl run semogong \
  --image=<image-path> \
  --port=8080 \
  --dry-run=client -o yaml > semogong.yaml
Because the container listens on port 8080 I specify it up front. The --dry-run=client flag validates the command without creating resources, and -o yaml writes the manifest to a file.
Edit the file—vi semogong.yaml in my case—and convert it into a Deployment:
apiVersion: apps/v1
kind: Deployment
metadata:
  name: semogong
spec:
  replicas: 3
  selector:
    matchLabels:
      app: web
  template:
    metadata:
      name: semogong-pod
      labels:
        app: web
    spec:
      containers:
      - name: semogong-container
        image: wjdqlsdlsp/semogong
        env:
        - name: <ENV_KEY>
          value: <ENV_VALUE>
        ports:
        - containerPort: 8080
Replicas are set to three so Kubernetes maintains three pods. Make sure your selectors and labels match; otherwise the Deployment will fail to manage the pods.
Create the Deployment
kubectl apply -f semogong.yaml
Confirm that the Deployment and pods are healthy:
kubectl get pods
kubectl get deployments
You should see all pods in Running status.
Expose the Service
kubectl expose deployment semogong \
  --name=semogong \
  --type=LoadBalancer \
  --port=80 \
  --target-port=8080
This command creates a Service that fronts the Deployment. The pods listen on 8080, so I map port 80 on the load balancer to 8080 in the container.
kubectl get service
After a short wait the Service receives an external IP. Open it in your browser to verify the application is reachable.
Update Firewall Rules (If Needed)
If the Service does not respond, check your firewall rules. In the GCP console search for Firewall and allow the ports you need. I opened 80, 8080, and 3306 (for MySQL). Remember to attach the firewall rule to the proper network.
Enabling Sticky Sessions
During testing I noticed session data jumping across pods. That behavior is expected without sticky sessions: the load balancer distributes traffic evenly. In AWS you enable sticky sessions with an ELB option. GKE provides a similar feature.
In the Services & Ingress page, open your Service and click YAML. At the bottom of the manifest you will find spec.sessionAffinity.
sessionAffinity: ClientIP
sessionAffinityConfig:
  clientIP:
    timeoutSeconds: 10800
type: LoadBalancer
Set sessionAffinity to ClientIP and configure timeoutSeconds. Requests from the same client IP now stick to the original pod for three hours (10,800 seconds) unless the pods restart.
Rolling Updates
Zero-downtime releases are essential. Kubernetes makes rolling updates straightforward:
kubectl set image deployment.v1.apps/semogong \
  semogong-container=wjdqlsdlsp/semogong:latest
After pushing a new image to Docker Hub, run the command above to roll out the new version.
Setting the Pod Timezone to KST
Pods default to UTC. I prefer to keep application logs in Korea Standard Time, so I add a TZ environment variable:
apiVersion: apps/v1
kind: Deployment
metadata:
  name: semogong
spec:
  replicas: 3
  selector:
    matchLabels:
      app: web
  template:
    metadata:
      name: semogong-pod
      labels:
        app: web
    spec:
      containers:
      - name: semogong-container
        image: wjdqlsdlsp/semogong
        env:
        - name: TZ
          value: Asia/Seoul
        ports:
        - containerPort: 8080
With TZ set to Asia/Seoul, the container logs timestamps in KST. Place the variable under spec.template.spec.containers[].env.